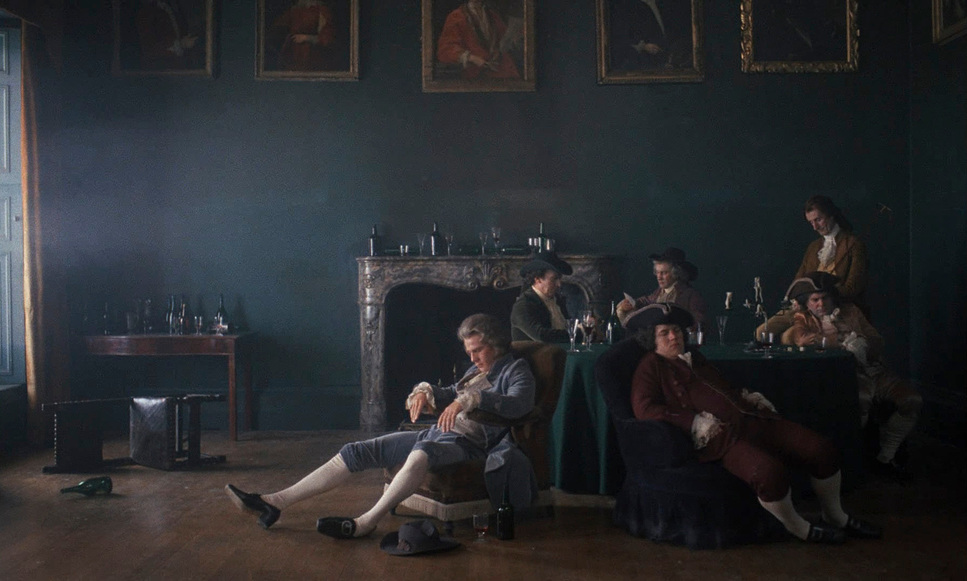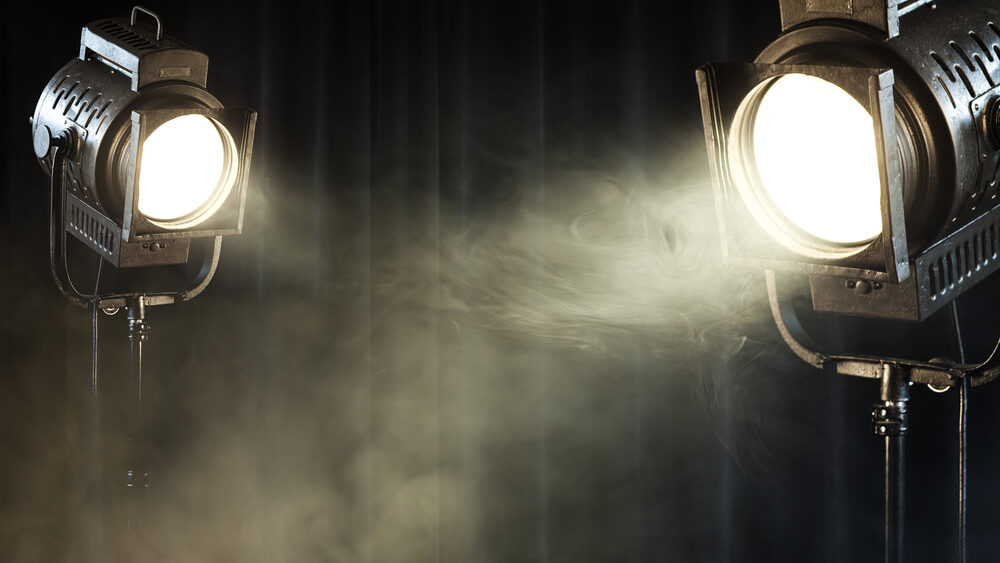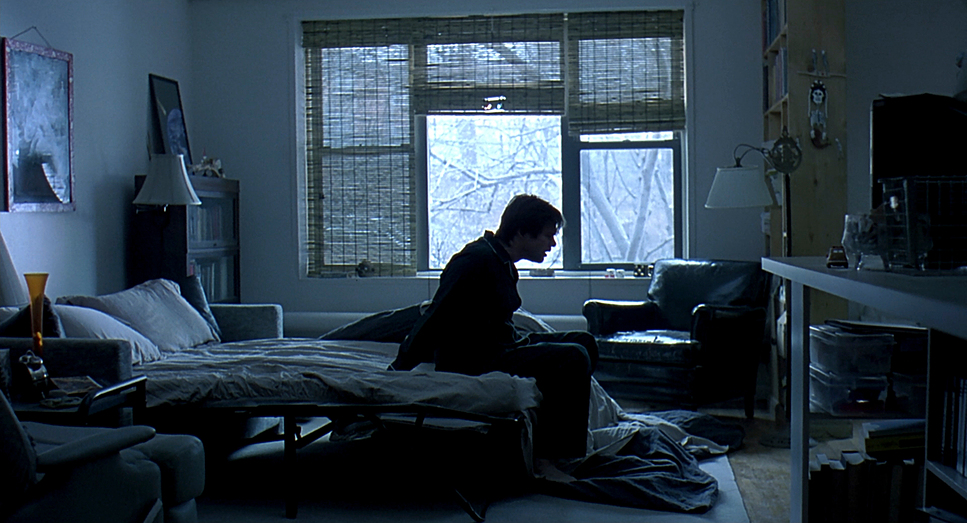
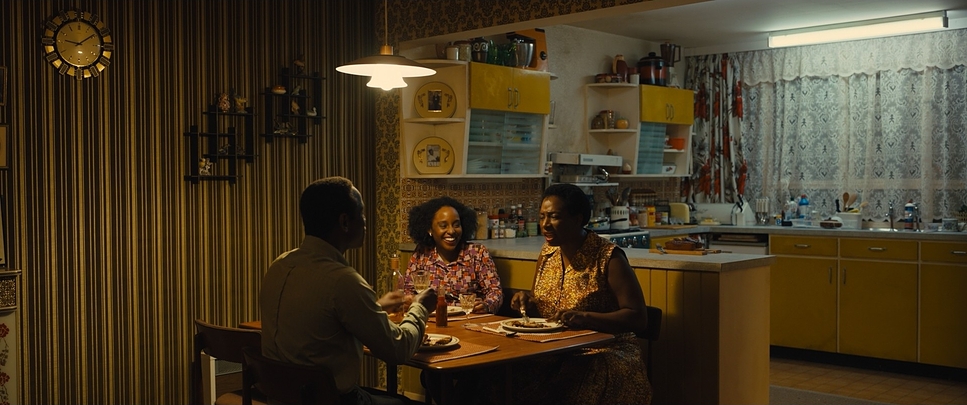
Discover the art of practical lighting in film with our comprehensive guide. Learn techniques, tips, and tricks from experienced cinematographers to elevate your visual storytelling.

In the world of cinematography, practical lighting in film is the unsung hero that can transform an ordinary set into a compelling visual narrative. It’s not just about illumination; it’s about crafting mood, depth, and authenticity in every frame.
This guide delves into the art and science of practical lighting, covering everything from foundational concepts to advanced techniques. Whether you’re honing your skills or looking to push creative boundaries, you’ll find valuable insights to elevate your lighting design.
So, grab your favorite beverage, and let’s shed some light on the art of practical lighting. By the end of this, you’ll be seeing your scenes in a whole new light – pun absolutely intended!
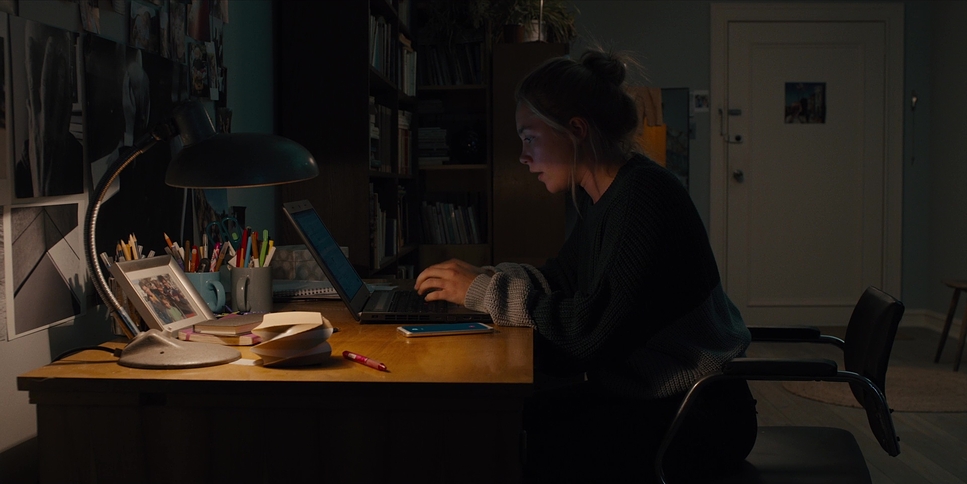
Picture this: you’re on set, and the director wants a cozy, lived-in feel for the next shot. Your secret weapon? Practical lights. These aren’t just any old lamps or fixtures; they’re the unsung heroes of cinematography that can make or break the authenticity of your scene.
So, what exactly are practical lights? In the simplest terms, they’re any light sources that appear within the frame of your shot. That old desk lamp in the corner? Practical. The neon sign glowing in the background? You guessed it – practical. These lights aren’t just props; they’re an integral part of your lighting design and a powerful tool in your cinematographer’s toolkit.
Now, let’s break down the types of practical light sources you might encounter:
But here’s where it gets interesting. Practical lights are different from what we call “movie lights” or “production lights.” While movie lights are typically placed outside the frame to illuminate the scene, practicals are part of the scene itself. They’re visible to the camera and contribute to the overall composition of your shot.
The magic of practical lighting lies in its ability to create realism and mood. When you walk into a room in real life, you don’t see a perfectly lit space with no visible light sources. You see lamps, overhead lights, maybe even the glow of a fireplace. Practical lights mimic this reality, grounding your scenes in a believable world.
But it’s not just about realism. Practical lights are mood-making machines. A single table lamp can transform a scene from bright and cheerful to intimate and mysterious. A neon sign can instantly transport your audience to a gritty urban nightscape. By carefully selecting and placing your practicals, you’re not just lighting a scene – you’re crafting the emotional landscape of your film.
Remember, in the world of cinematography, every light tells a story. And practical lights? They’re the storytellers hiding in plain sight, ready to bring your vision to life.
As a cinematographer, your first move on a new location is often the simplest: flipping every light switch you can find. It’s not just about seeing what’s there – it’s about assessing your canvas. Those existing fixtures aren’t just functional; they’re your first line of defense in crafting the perfect ambiance for your scene.
When evaluating on-site lighting, ask yourself: What’s the quality of light? Are you dealing with soft, diffused beams or harsh, direct glare? Is the color temperature warm and inviting or cool and clinical? These questions form your roadmap for understanding what you’re working with.
Let’s be real though – existing lighting isn’t always your friend. We’ve all walked into rooms with overhead fluorescents that make everyone look like they’re auditioning for a zombie flick. Common challenges include harsh shadows, unflattering angles, mixed color temperatures, and insufficient output that leaves your scenes underexposed.
But don’t despair! This is where the fun begins. Modifying existing practicals is like a DIY project for cinematographers. Try these tricks:
Let me share a quick case study. I once walked onto a living room set that screamed ’90s sitcom – all bright overheads and zero atmosphere. We turned off the overhead lights, brought in strategic table lamps, added a floor lamp for subtle backlighting, and repurposed the existing recessed kitchen lights as motivated background sources. The result? A warm, inviting space that felt lived-in and real.
Remember, every location is a blank canvas, and those existing fixtures are just waiting for you to turn them into something magical. So next time you step onto a set, don’t just see the lights that are there – see the potential for what they could be.

When existing lighting falls short, it’s time to bring in your own practical lights. But remember, this isn’t a solo act – it’s a carefully choreographed dance with your team.
First and foremost, sync up with the art department. These are your partners in creating a cohesive visual world. A beautifully lit scene can be instantly derailed by a misplaced or anachronistic lamp. Grab that coffee with your production designer and align on the visual language of your film. More importantly, ensure everything fits with the director’s vision – after all, you’re all working towards the same goal.
Selecting fixtures is where your storytelling skills shine. Shooting a gritty ’70s crime drama? Think warm-toned, chunky lamps. Futuristic sci-fi? Sleek, cool-toned LEDs might be your go-to. Choose fixtures that not only light your scene but also enhance your narrative.
Placement is crucial. Treat your practical lights like actors – they need careful blocking. A well-placed lamp can guide the viewer’s eye, create depth, or subtly frame your shot. But remember, practicals are part of a larger ensemble. Use them to motivate your key light, add a splash of color to your fill, or create that perfect eye light that elevates an actor’s performance.
Don’t overlook new tech like RGBW LED ribbons. These flexible strips can add futuristic glows or subtle color shifts as scenes evolve. Just remember, less is often more – even with all those fancy color options at your fingertips.
Ultimately, introducing new practical lights isn’t just about illumination – it’s about crafting a believable world. Collaborate closely with your team, align with the director’s vision, and create an environment that tells your story before a single word is spoken.
Alright, gear heads, let’s dive into the nitty-gritty of practical lighting. Trust me, understanding these technical aspects will take your lighting game from “meh” to “magnificent.”
First up: color temperature. This isn’t about how hot your lights get (though be careful, some of those tungsten babies can fry an egg). We’re talking about the warmth or coolness of your light. Measured in Kelvins, color temperature can make or break your scene’s mood. Want a cozy, intimate feeling? Stick to warm lights around 2700K-3000K. Need a clinical, stark atmosphere? Crank it up to 5000K or higher. Remember, mixing temperatures can create visual interest, but be intentional about it – unless you’re going for that “forgot to white balance” look.
Now, let’s talk bulbs. Your choices here are like picking the right lens – each has its strengths:
Pro tip: Always pack a variety in your kit. You never know when you’ll need to match an existing practical or create a specific effect.
Controlling intensity is where the real artistry comes in. Dimming isn’t just about brightness; it can shift your color temperature too. LED dimmers often work better than traditional ones for maintaining color consistency. And don’t forget about good old-fashioned scrims or diffusion – sometimes the low-tech solution is the best one.
Lastly, let’s chat about the Color Rendering Index (CRI). This is the measure of how accurately a light source reveals colors compared to natural light. In simpler terms: does that apple look like an apple, or some weird alien fruit? Aim for lights with a CRI of 90 or above, especially when shooting food, fashion, or anything where color accuracy is crucial.
Remember, these technical aspects aren’t just for tech sheets and light meter readings. They’re the tools that help you paint with light, creating the visual story you’ve envisioned. Master these, and you’ll be speaking the language of light fluently in no time.
Alright, let’s roll up our sleeves and dive into the fun stuff – the creative techniques that’ll make your practical lighting sing. This is where we separate the lightbulb changers from the true lighting artists.
First up, let’s talk about using practicals to motivate off-camera lighting. Picture this: you’ve got a cozy living room scene, and there’s a lamp in the corner. That lamp isn’t just set dressing – it’s your secret weapon. Use it to justify that beautiful soft key light you’ve got just out of frame. Your audience will buy it hook, line, and sinker, because hey, there’s a lamp right there! It’s all about creating that seamless blend between practical and movie lights.
Now, let’s add some depth to your shots. Background practicals are your best friends here. A distant table lamp, a streetlight through a window, or even a TV flickering in another room can work wonders. These lights create layers in your image, giving it that three-dimensional feel that’ll have your audience wanting to step right into the screen.
But wait, what about those pesky hotspots and spill? No worries, I’ve got you covered. For hotspots, a little diffusion goes a long way. Slap some tough spun or opal on that bare bulb, and watch those harsh highlights melt away. As for spill, black wrap is your new best friend. Shape that light like a sculptor, and only let it go where you want it to.
Genre-specific lighting is where things get really interesting. For noir, embrace those harsh shadows and high contrast. A single practical creating a pool of light in a dark room? Classic. Sci-fi more your speed? Get creative with hidden LED strips and unusual fixtures. And for period pieces, research is key. Nothing takes you out of a 1920s scene faster than a modern-looking lamp.
Now, I know what some of you are thinking – “But what if I’m working on a shoestring budget?” Fear not, my thrifty friends. DIY solutions are everywhere if you know where to look. Chinese lanterns can make great soft sources. A desk lamp with a directional bulb can be your poor man’s spotlight. Heck, I once used a bunch of candles grouped together to create a warm, flickering key light for a romantic scene. The point is, don’t let budget constraints stifle your creativity.
Remember, practical lighting isn’t just about illumination – it’s about creating a world that feels alive. So go ahead, play with your lights. Move them, shape them, color them. Because at the end of the day, it’s not about having the fanciest gear – it’s about having the vision to use what you’ve got in the most creative way possible.
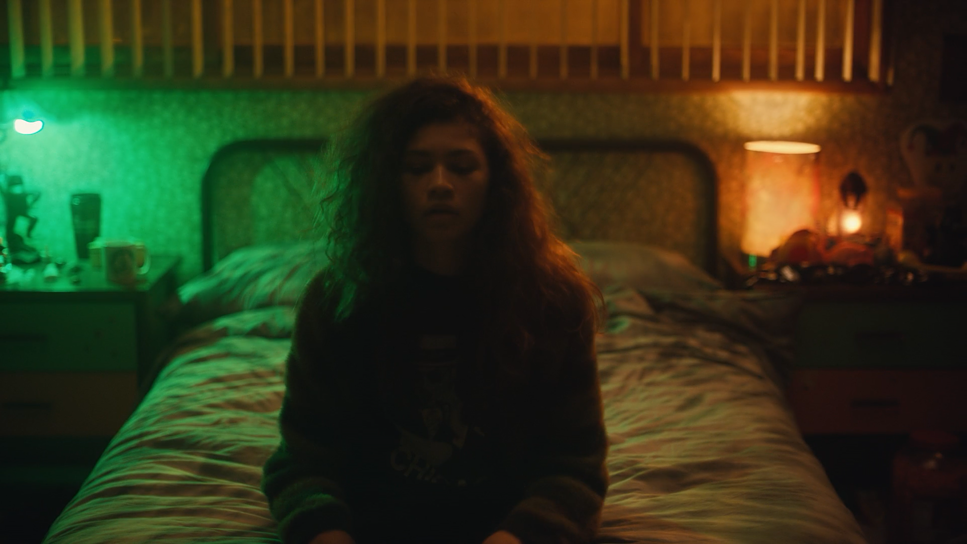
Practical lighting can be tricky, but with the right approach, you can turn challenges into opportunities for creativity. Here are some common issues and how to tackle them:
When faced with warm practicals and cool daylight, don’t panic – embrace it. Use gels on your practicals to create a cohesive color palette, or leverage the contrast to add depth. The key is to make it look intentional.
Remember the golden rule: your movie light should never directly illuminate the practical. Why? It’s a dead giveaway that you’re using an additional source, and it can create an unnatural shadow from the practical on your subject – something that doesn’t happen in real life. Instead, aim for mimicry. Your movie light should emulate the direction, quality, and color of the practical. Think like a magician – the audience should see the magic, not the trick.
When balancing practicals with daylight, think in layers. Start with your daylight exposure, then build your practical lighting on top. Use ND gels on windows to tame harsh sunlight, and don’t be afraid to boost your practicals to compete.
Nothing breaks the illusion faster than visible cables. Get creative with set dressing – use plants, books, or furniture to conceal wires. When in doubt, color-matched gaffer tape is your best friend.
Flicker issues, especially with LEDs, can be a headache. Invest in quality dimmers or DMX-controlled fixtures for precise control. Always do a camera test at your desired frame rate before the shoot.
Practical lights can get hot, so always use gloves when handling. Ensure your cables are properly rated for the power draw, and avoid overloading circuits. Your gaffer (and the fire marshal) will thank you.
Remember, every lighting challenge is an opportunity for creative problem-solving. Channel your inner MacGyver, and let the movie magic happen!
Practical lighting stands as a cornerstone of cinematographic storytelling. It’s not merely about illumination; it’s about crafting mood, depth, and authenticity that resonate with your audience. Each practical light in your frame offers an opportunity to enhance your narrative.
As you apply these techniques, you’ll find that practical lighting opens up a world of creative possibilities. It allows you to shape the visual landscape of your film, turning ordinary scenes into compelling visual stories.
Moving forward, approach each set with a keen eye for the practical lights at your disposal. Consider how they can be utilized or modified to serve your storytelling needs. With the knowledge and techniques we’ve discussed, you’re well-equipped to harness the full potential of practical lighting in your cinematography.
Continue to experiment, refine your approach, and let your creative vision guide your lighting choices. In doing so, you’ll bring a new level of depth and authenticity to your visual narratives.

